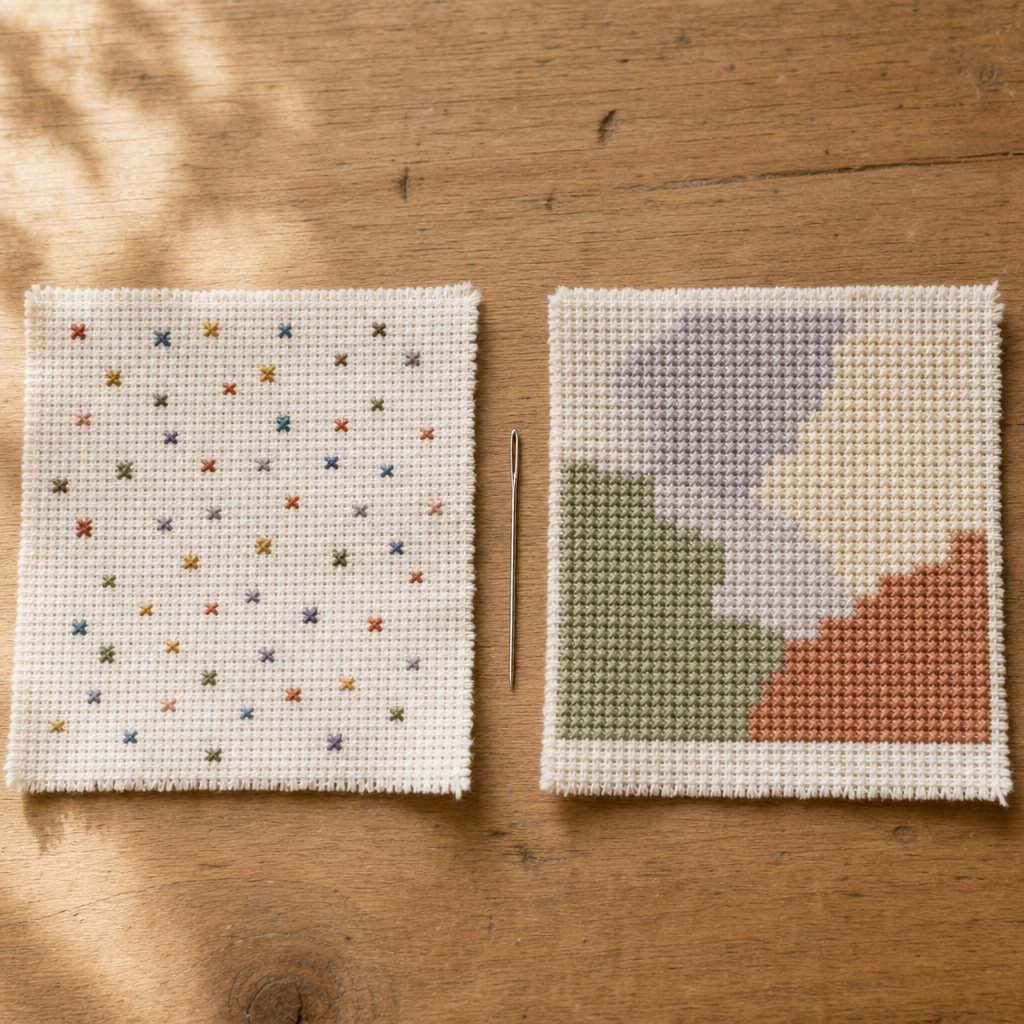
In cross stitch terminology, "confetti" refers to lonely, isolated single-stitch squares completely surrounded by different thread colors.
A chart plagued with high confetti ratios can double your project hours, create a messy knotted labyrinth on the back of your Aida, and make the stitching experience thoroughly frustrating.
When stitchers encounter a grainy or muddy chart preview, their instinctive reaction is usually to increase the color count slider—assuming the image looks rough because it lacks color fidelity. In reality, that intuition is completely backwards: adding more colors almost always produces MORE confetti, not less.
Here is why it happens, and the exact step-by-step order to fix it.
The root cause of confetti
When a converter projects an image onto a stitch grid, every grid square samples the average color of its corresponding pixels and assigns the nearest available DMC thread.
Whenever a photograph features soft, gradual transitions—such as skin tones, soft-focus background bokeh, or delicate fabric folds—hundreds of adjacent grid squares land on microscopic intermediate shades.
- If you give the software 18 colors, it groups those subtle gradations into large, continuous color blocks that are fast and satisfying to stitch.
- If you give the software 45 colors, it divides those same transitions into a fine checkerboard of single-stitch specks across five near-identical shades.
More colors give the algorithm permission to isolate single stitches.
Step 1: Increase the Smoothing Slider (Noise Reduction)
The Smoothing filter in StitchCraft analyzes neighboring grid cells and automatically merges solitary, isolated stitches into the dominant surrounding color field.
- Low Smoothing: Captures micro-level photographic noise; confetti percentages often exceed 15–20%.
- Medium Smoothing (Recommended): Merges stray speckles into clean 2×2 and 3×3 stitch clusters while preserving crisp focal outlines.
- High Smoothing: Creates bold, posterized needlework planes—ideal for folk art and relaxing beginner projects.
Always monitor the live Stitchability Score and confetti percentage in the workbench as you adjust the slider.
Step 2: Enable Color Clustering / Flat Mode
Flat Mode groups subtle color steps into defined tonal plates before mapping to DMC strands. This cleanses background noise and large uniform areas (like skies, walls, or garments) without blurring essential facial contours or pet markings.
Step 3: Only Then Adjust the Color Count (Usually Downward)
Once smoothing and clustering have cleaned up stray speckles, review your color count. In most cases, you should adjust the slider downward, not upward:
- Dropping your palette from 36 colors to 26 often reduces thread changes by 30% with zero visible loss in design fidelity.
- If a design still looks incomplete with 25 well-chosen DMC colors, the issue is almost always a lack of stitch grid resolution, not a lack of thread shades.
When to Consider an AI Pre-Processing Pass
All the slider adjustments above run locally and instantly in your browser.
However, certain photographs have extreme built-in noise—such as backlit fur, glitter reflections on water, or dense textured foliage. If local smoothing cannot completely tame the background clutter, a single AI pre-processing pass can redraw the scene as flat, illustration-style color planes before charting.
The Golden Troubleshooting Order
When fixing a noisy pattern, always follow this sequence:
- Increase Smoothing to eliminate stray single stitches.
- Enable Flat Clustering to solidify gradients into clean blocks.
- Lower the Color Budget to reduce unnecessary thread changes.
- Increase Canvas Width if focal details need sharper resolution.
- Use AI Pre-Processing only if the original photo background is inherently cluttered.