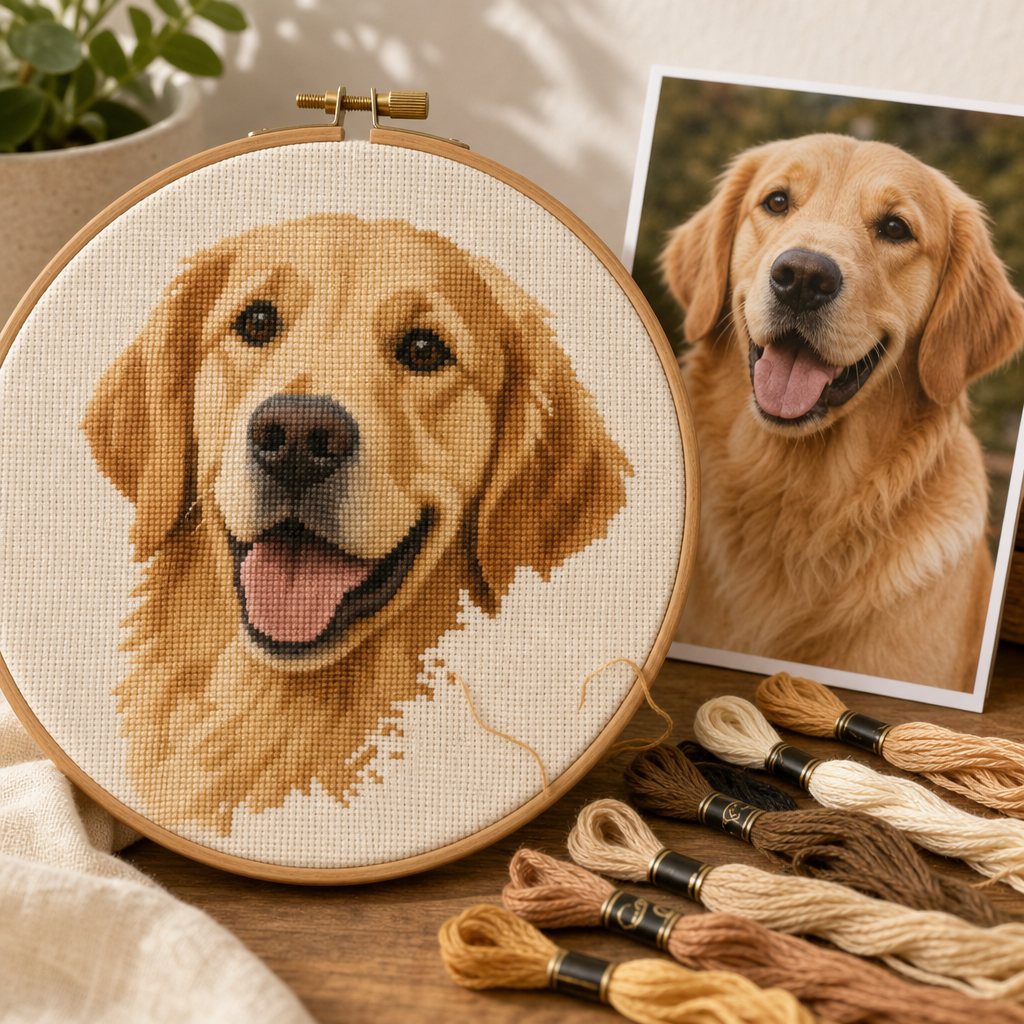
Pet portraits are by far the most popular projects brought to a cross stitch pattern maker—and historically the most prone to disappointing results.
The reason has nothing to do with software bugs and everything to do with physics: fur is fine, high-frequency visual texture, while a cross stitch fabric is a discrete, low-frequency grid.
A golden retriever in natural light features tens of thousands of individual hairs, each catching highlights at slightly different angles. A camera captures every specular highlight with ease. But a 160-stitch cross stitch grid must compress hundreds of distinct hair tips into a single square of Aida. Without proper adjustments, the result is "confetti"—a chaotic storm of single stitches across dozens of barely distinguishable tans and browns.
Here is how experienced stitchers tame pet fur, arranged from the easiest fixes to the most advanced.
Step 1: Run the squint test
Before spending time tuning sliders, inspect your preview and ask: does your pet still look distinct when you squint at the screen?
- If yes, but the fur looks messy or noisy: You have a confetti and palette distribution problem. The fixes below will resolve it quickly.
- If no—if your pet blurs into the background: You have a lighting and contrast problem. If a black cat is photographed on a dark rug, no amount of color tweaking will make them stand out on fabric. Crop to a brighter angle or select a photo with better subject-to-background contrast.
Fix 1: Crop tight to the face (Free and highest impact)
This is the single most effective adjustment you can make.
Fur texture requires physical grid stitches to look natural. If your pet occupies only 35% of the frame on a 180-stitch wide canvas, your pet's face only receives around 60 stitches of width.
If you crop tightly to the head and collar so your pet fills 85–90% of the frame, that same 180-stitch canvas allocates over 150 stitches directly to the face. You instantly double the facial resolution and expressive catchlights at zero extra cost in fabric, floss, or sewing time.
Fix 2: Lower the color budget (Counter-intuitive but powerful)
The common instinct when fur looks muddy is to add more colors. With animal coats, this usually makes things worse.
Confetti occurs when the pattern generator has more colors available than the grid has physical space to cluster. Give an algorithm 45 tan threads and it will assign a different code to every stray pixel. Constrain it to 22–26 colors and it is forced to create unified highlight and shadow planes.
Solid color blocks read naturally as fur from normal viewing distance, whereas scattered single stitches look like visual static.
Fix 3: Balance stitch count with stitching time
If cropping and color reduction still lack the detail you want, gradually increase the pattern width.
General guidelines for pet portraits:
- 120–140 stitches wide: Good for simple graphic silhouettes and small keepsakes.
- 160–200 stitches wide: The ideal standard for pet portraits. Expressive eyes, nose textures, and coat markings render clearly.
- 240–300 stitches wide: Heirloom quality with fine whisker details and intricate coat patterns, suited for advanced crafters.
Remember: canvas workload scales with area. Increasing width from 160 to 240 stitches more than doubles your total stitch count. Always crop first before expanding canvas dimensions.
Handling the toughest scenario: Backlit fur
Backlit photos—where sunlight creates a glowing halo around the ears and fur—are gorgeous in photography but notorious on the grid.
A bright rim light is often only 1–2 pixels wide. On a low-resolution chart, it either turns into a broken dashed line of white speckles or disappears into surrounding body tones.
How to handle backlighting:
- Choose soft, indirect lighting if possible: Photos taken on an overcast day or in open shade convert far more smoothly.
- Increase grid width slightly: Ensure the glowing edge is wide enough to occupy at least two continuous stitches.
- Use smoothing filters: StitchCraft's noise-reduction slider connects broken highlight speckles into cohesive, stitchable accent lines.
Eyes are where the soul lives
If you focus your attention on one area, make sure the eyes are perfect.
The eyes carry 90% of your pet's personality and likeness, yet occupy less than 2% of the total stitches. Zoom into the eyes on your stitched preview:
- Did the white catchlight survive as a clean, intentional accent?
- Does the iris maintain a clear highlight and shadow boundary?
If the eyes look alert and expressive, the surrounding fur can be gently simplified and the finished embroidery will look stunning on your wall.